First Connection
This guide walks you through connecting ARIS to your rig and your imaging equipment for the first time.
Prerequisites
Section titled “Prerequisites”Before you begin, make sure:
- Your rig is installed and powered on: a Raspberry Pi or other Linux computer running ARIS, or a Windows PC running NINA with the ARIS plugin.
- Your imaging equipment (mount, camera, etc.) is connected via USB to the rig.
- Your phone, tablet or computer and the rig are on the same local network.
Connecting to Your Rig
Section titled “Connecting to Your Rig”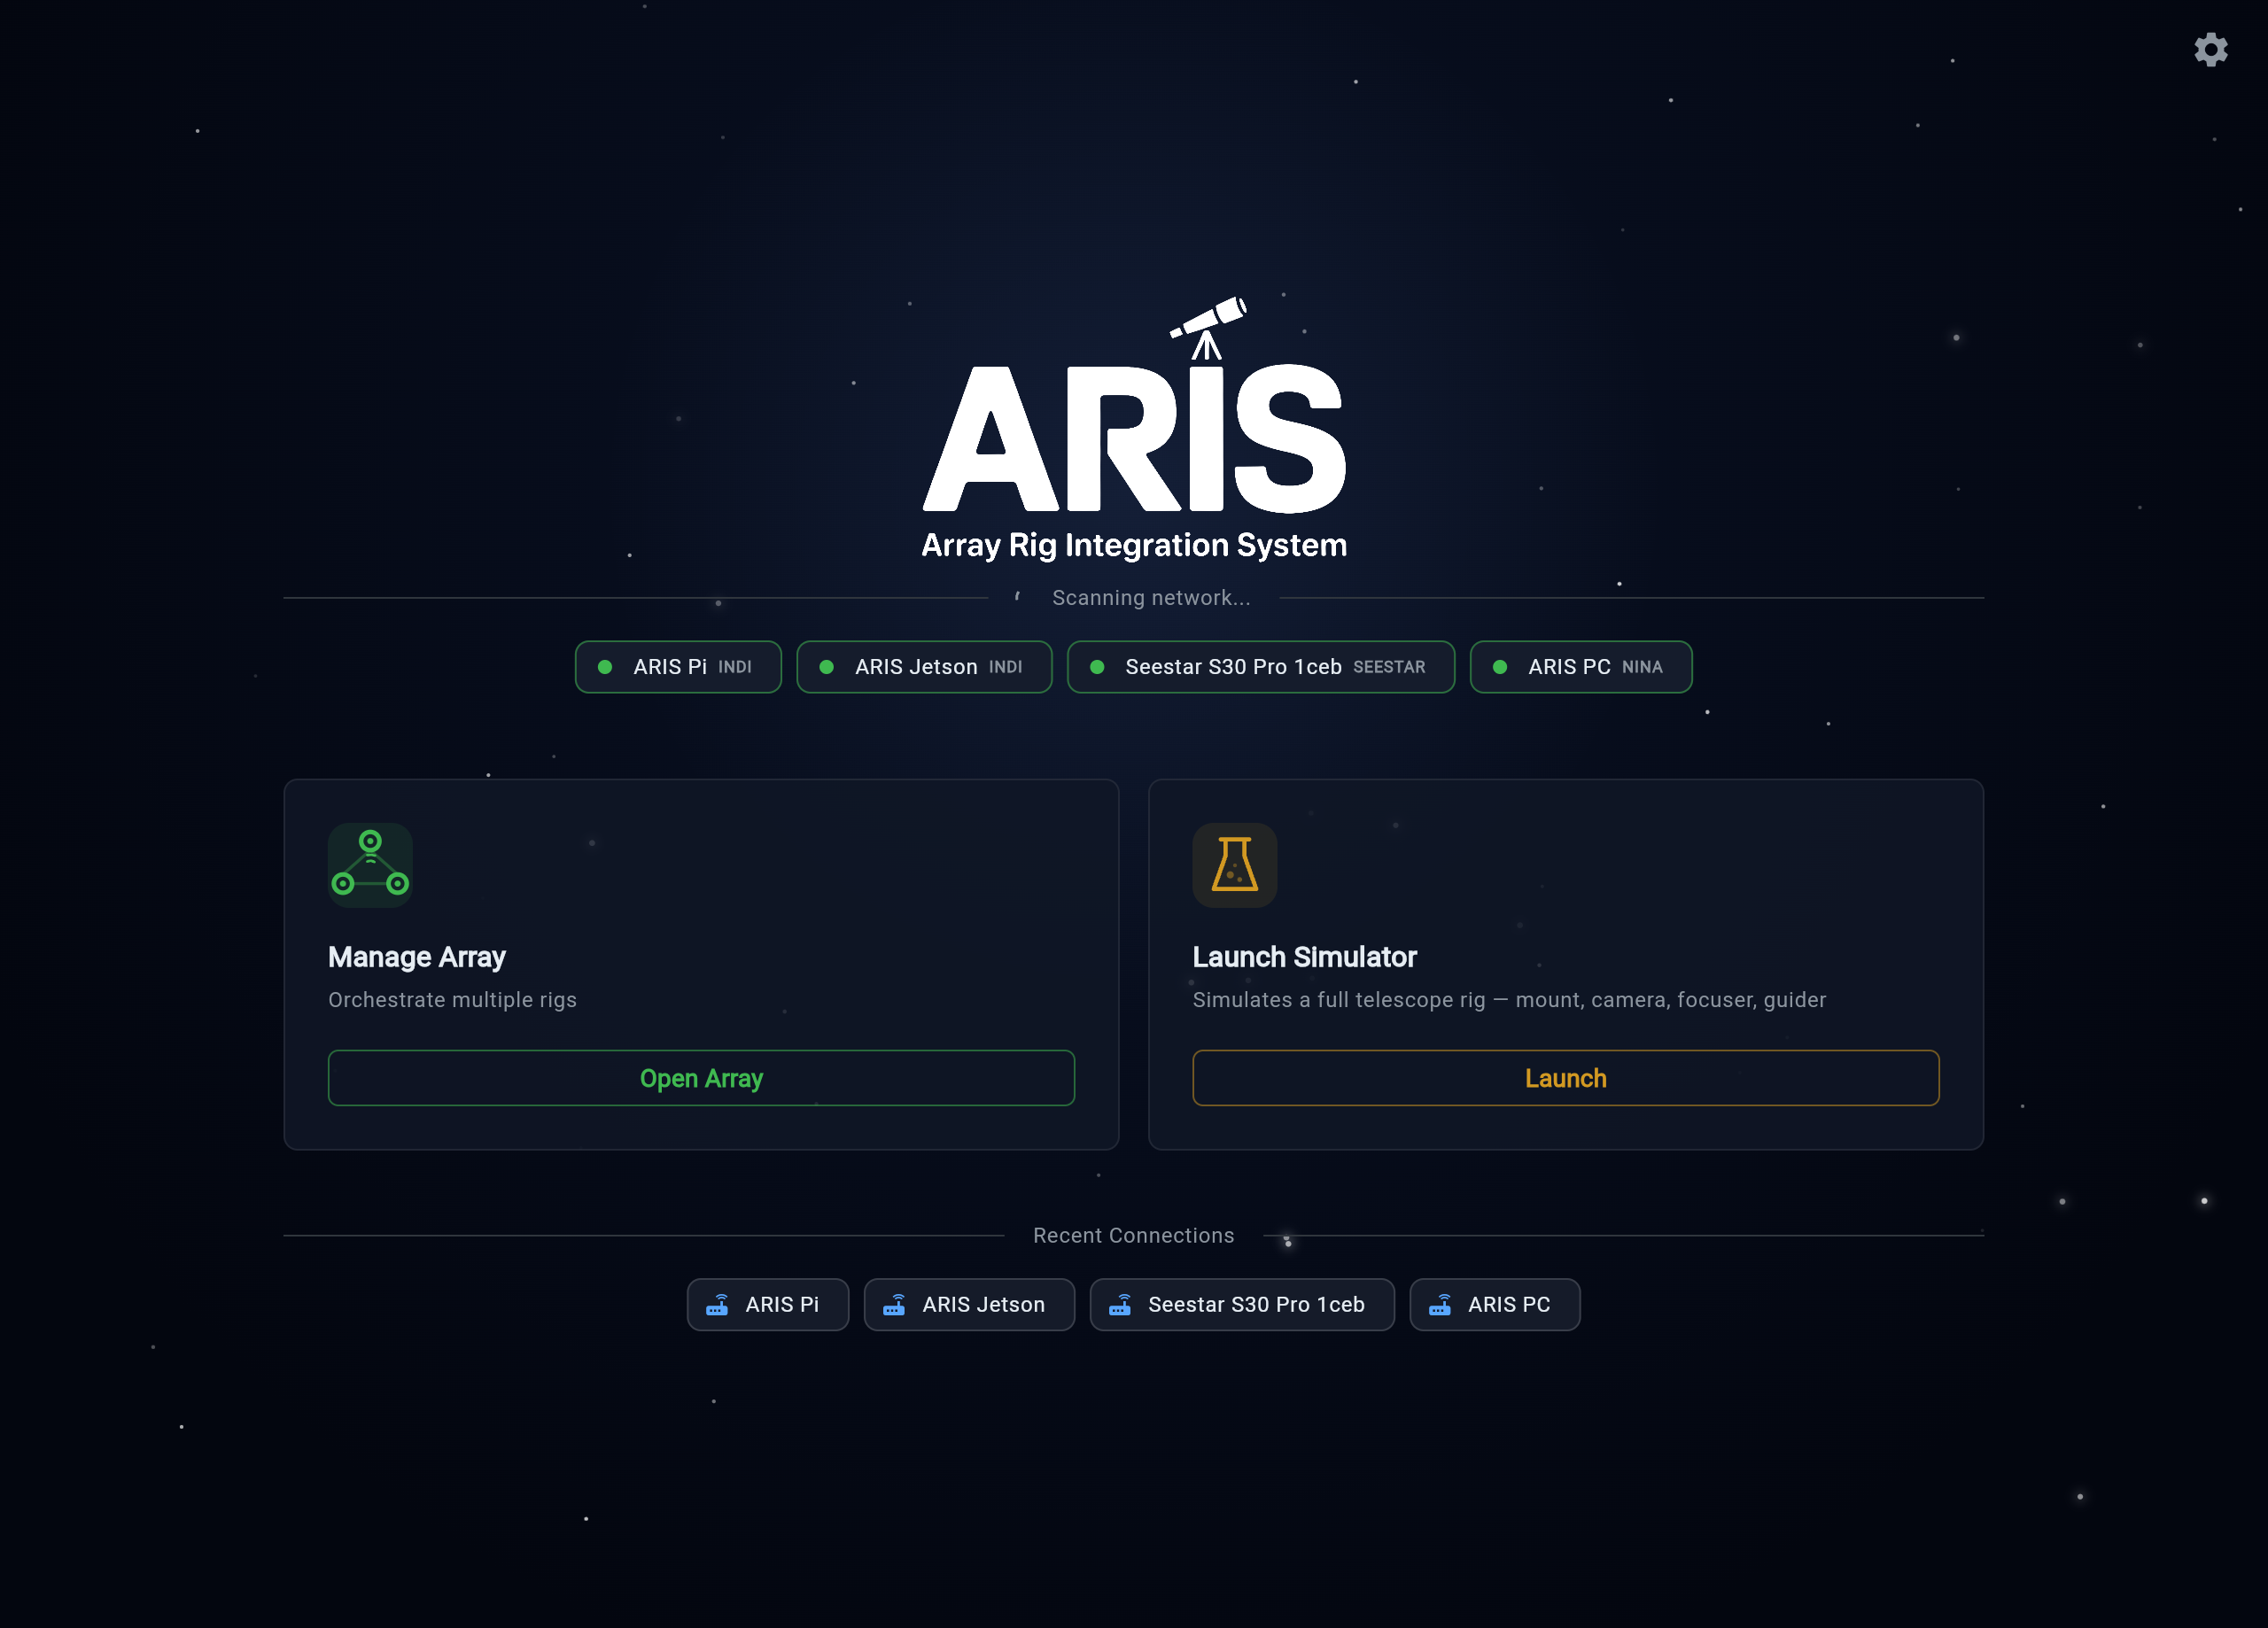
-
Open ARIS. The first screen scans your network (Scanning network…) and lists each rig it finds as a button under Discovered Rigs, marked with the kind of rig: INDI, NINA or SEESTAR. When you are signed in, your claimed rigs that are not on this network appear too, under Your Rigs.
-
Tap your rig.
-
If your rig is not listed, tap the refresh button next to the heading to scan again. Still missing? Tap Open Array on the Manage Array card and use Connect to Agent: type the rig’s name (such as
aris-pi-ai.local) or its IP address in Host, its port in Port (8080, unless you changed it with the pencil next to the rig’s name in Settings → Connection), and tap Connect. Once the Array holds a rig, the same fields are under Add Rig.
Set up the rig’s equipment
Section titled “Set up the rig’s equipment”The first time you connect to a rig that has no equipment saved, ARIS asks for it on a page titled Set up and the rig’s name:
- MAIN — the imaging Camera, chosen from the cameras the rig can see, and the telescope: Name, Focal length (mm) and Aperture (mm), or one you saved before under Telescope.
- GUIDE — shown when the rig sees two or more cameras: the guide Camera, and whether it uses an Off-axis guider or a Guide scope.
Tap Done. The rig keeps this record. You can change it later in Settings → Equipment.
Next, if the rig’s setup is not finished, ARIS offers to walk you through it, in two halves: INDOORS (settings and calibration frames) and UNDER THE STARS (focus, polar alignment, plate solve, guiding). Tap Start to begin Rig setup, or Not now to go to Home. ARIS asks this once per rig on each device; Settings → Rig setup always has the list.
Verifying the Connection
Section titled “Verifying the Connection”On Home, the EQUIPMENT line counts the rig’s connected devices (for example 8/8), and each device card shows a green dot once it is connected. A Raspberry Pi or Linux rig connects its devices itself when it starts; Connect All connects any that are not.
If a device stays disconnected, check its USB connection, then open Settings → Advanced → Set up devices, which lists what needs an answer and what ARIS detected.
Troubleshooting Connection Issues
Section titled “Troubleshooting Connection Issues”| Problem | Solution |
|---|---|
| Rig not in the list | Scan again, or type its address under Open Array → Connect to Agent. Ensure both devices are on the same network and subnet. |
| Connection refused | Verify the rig is on. Check the port: 8080 unless you changed it. |
| ”ARIS cannot pair this device with the rig” | The rig runs ARIS Rig OS and has been claimed. Sign in with the account that claimed it — see Sign in. |
| Devices not appearing | Check USB connections, then open Settings → Advanced → Set up devices. |
| Intermittent disconnects | Check Wi-Fi signal strength. Consider using 5 GHz Wi-Fi or a wired connection to your rig. |
What’s Next
Section titled “What’s Next”With your equipment connected, you are ready to capture your first image.
Want to reach your rig when you are away from home? Set up remote access pairing to control it securely from anywhere.